




A custom mirror should be planned from the finished wall outward. The outline needs to suit the people using it, the nearby fittings and the way it will be attached. Choosing the largest rectangle that fits between the tiles leaves those decisions unresolved.
Economy Glass’s custom mirror information confirms made-to-size mirrors and edge finish choices. Start by turning your preferred outline into a clear measuring and fixing brief, then choose the decorative style.
Size the custom mirror for the view you need
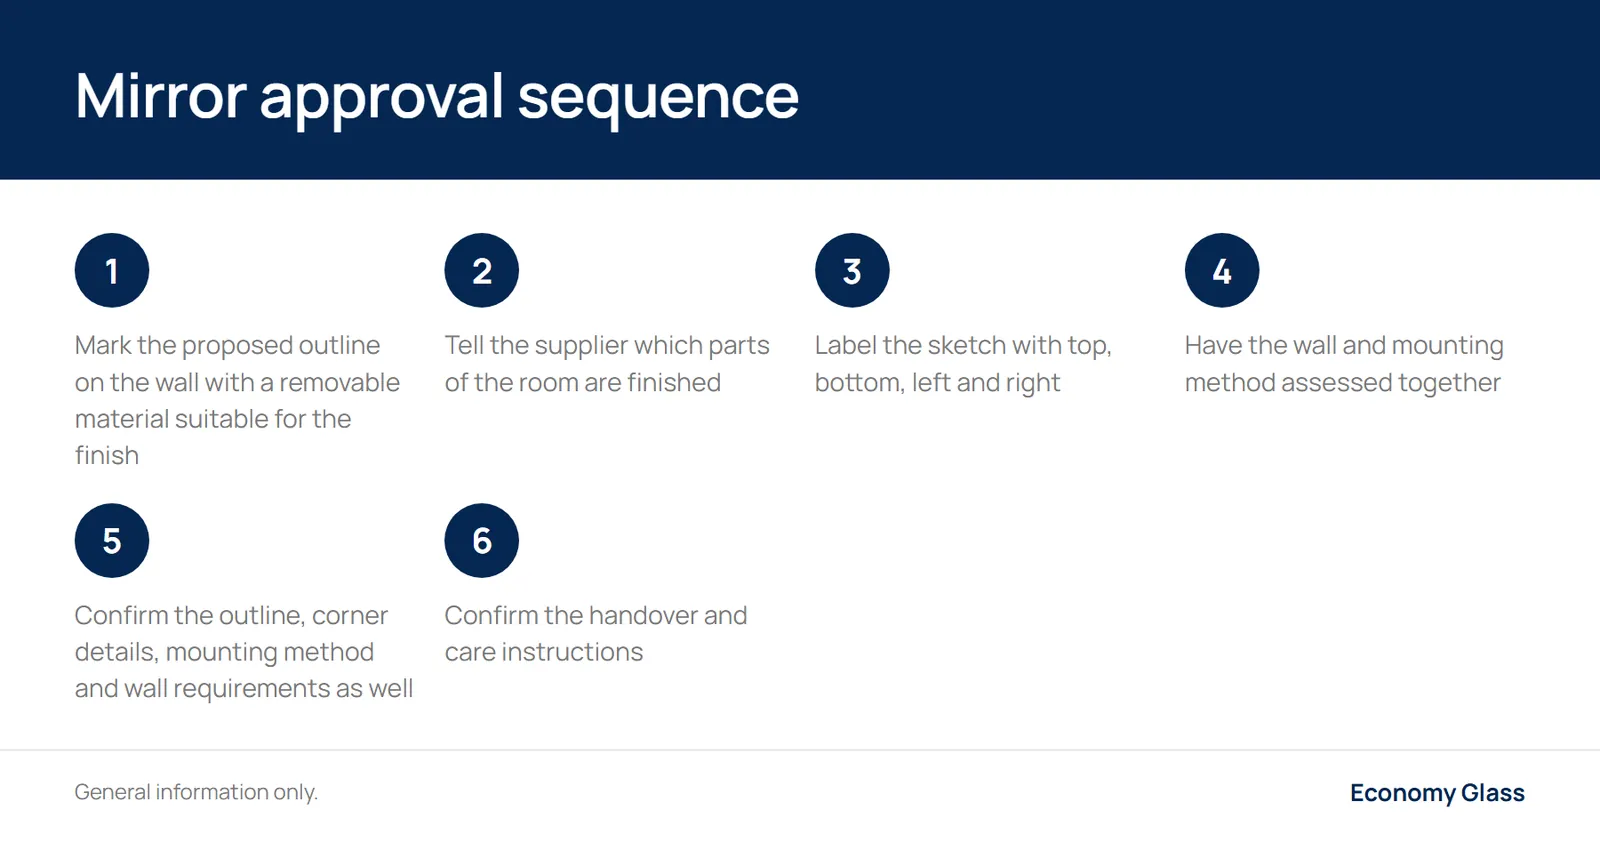
Mark the proposed outline on the wall with a removable material suitable for the finish. Check it from the places where the mirror will actually be used. At a vanity, that includes the normal standing position and any seated use. In a dressing area, check the available standing distance as well as the wall space.
Include everyone who will use it. A shape that looks balanced above a cabinet may put its useful reflection too high or low for someone in the household. Test the outline before manufacturing dimensions are approved, while changes are still easy to communicate.
Look at what the mirror will face. Check the intended position with doors open and closed and with the normal room lighting on. This is a useful layout exercise even if the final dimensions will be measured professionally. Take a photograph of the accepted outline to accompany the sketch.
Measure after the surrounding finishes are settled
Tell the supplier which parts of the room are finished. Tiles, wall linings, cabinetry and trim can all affect the opening being measured. If another trade still needs to work in that area, agree on when final measurement should happen rather than assuming the current dimensions will remain correct.
For a mirror fitting between surfaces, record the opening in different positions and show any visible taper. Do not take a single width and make up an installation clearance. Ask the person responsible for the fit to confirm the finished glass size and required gaps.
Label the sketch with top, bottom, left and right. Mark lights, outlets, taps, shelves and any proposed holes or cut-outs. State whether the drawing shows the wall opening or the finished mirror outline. That distinction avoids a supplier and installer working from different assumptions.
For a shaped mirror, ask what drawing or template is needed. A photograph of an arch or curved corner may show the style you want without defining the actual shape. Approve the production outline in the format the supplier requires.
Keep revisions together. If a wall light moves after the first sketch, update its position on the same drawing and identify the accepted version. Send it to the person measuring as well as the person arranging installation. A mirror can match an earlier drawing perfectly yet conflict with the finished room if a later change was never passed on.
Choose the edge with the fixing detail in view
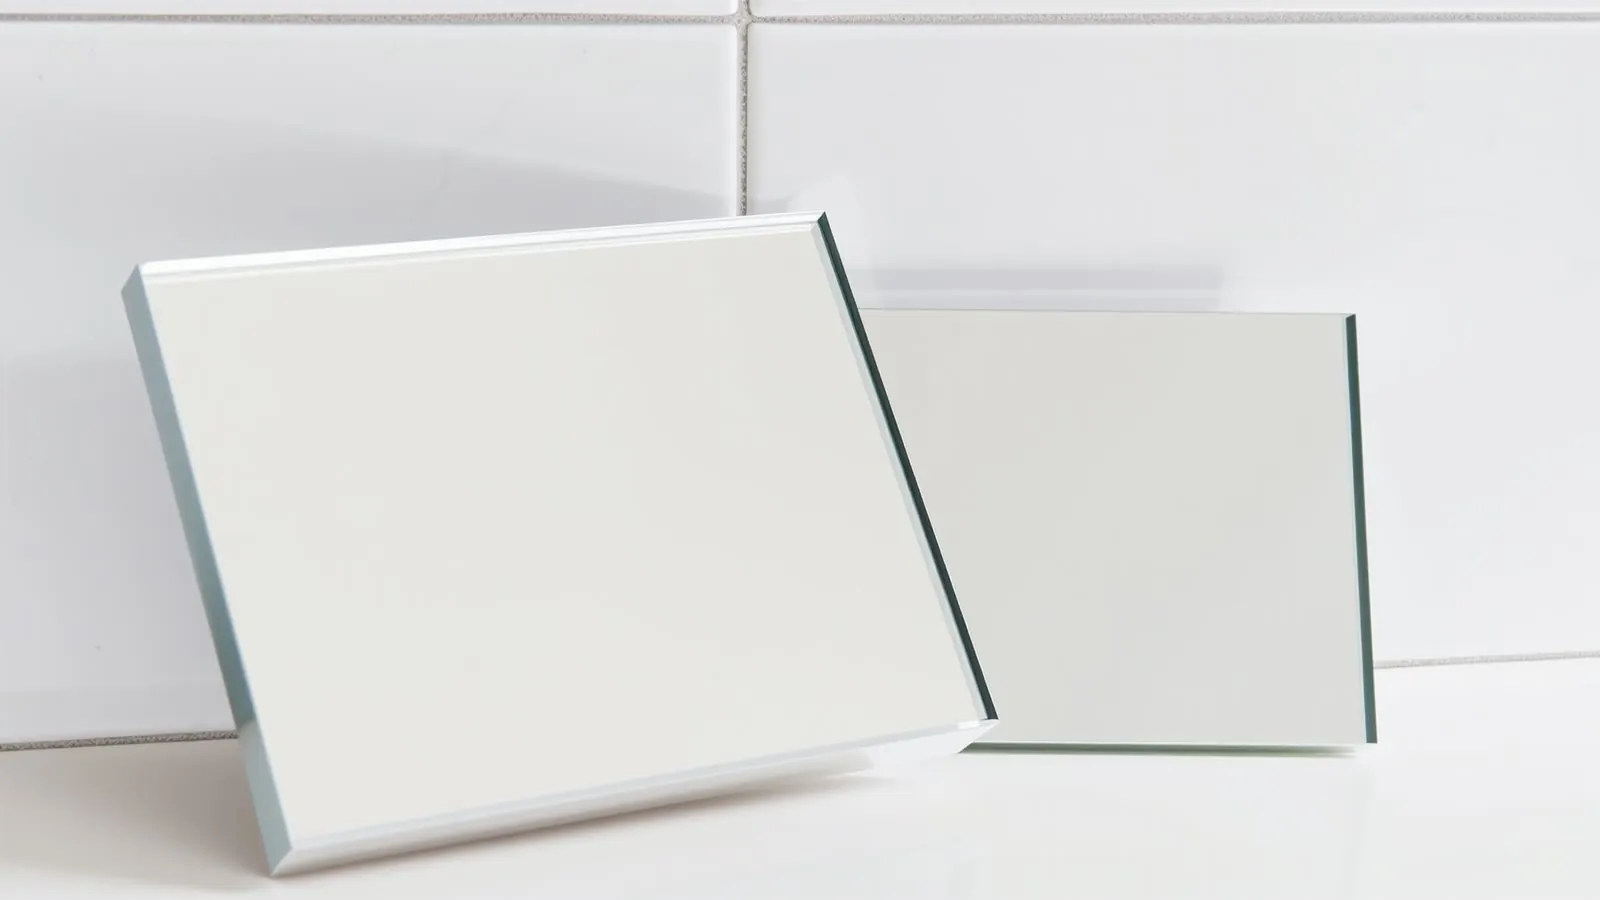
Economy Glass describes polished and bevelled edge finishes on its mirror finish page. Whether an edge stays exposed or sits behind a frame affects which finish suits. Use that as a starting point, then confirm the detail for your mirror.
| Proposed appearance | Detail to confirm |
|---|---|
| Exposed, flat polished edge | Visible profile and corner shape |
| Bevelled border | Appearance of the bevel around the approved outline |
| Framed mirror | How the frame covers and supports the specified edge |
View a sample if the difference matters to you. Check how the edge will meet adjacent tiles or cabinetry and whether any clips will be visible. Do not choose an edge finish as a substitute for resolving the mounting method.
For a nearby shelf, keep the specifications separate. The companion glass shelf guide, Glass shelf guide: thickness, edges, fixings and care, explains how shelf contents, spans and supports inform that choice. A coordinated appearance does not mean the mirror and shelf use the same fittings.
Have the wall and mounting method assessed together
Describe the wall construction as accurately as you can, including any uncertainty. Show the installer cracked tiles, loose finishes or old fixing holes. A photograph of the surface cannot confirm what is behind it, so ask what inspection is needed before approving the fixing arrangement.
Discuss the proposed mounting method with the installer and ask what it requires from the wall and mirror. Do not nominate a general adhesive or a set of decorative clips and assume they will suit. Ask for the specified products and installation instructions, including any preparation or temporary support required.
Also ask how removal would work if the wall needs maintenance later. A large mirror beside cabinetry may restrict access to fittings. That does not necessarily rule out the design, but the installation and future access should be understood before the piece is made.
If the mirror is intended for a door or another moving surface, say so at the start. Do not transfer a wall mounting detail to a moving application. Have the entire arrangement assessed for that use.
Coordinate the mirror with nearby work
A bathroom mirror, shelf and light can compete for the same wall space. Share the accepted layout with everyone working in that area. Ask who is confirming the position of each fitting so a late change does not make the mirror drawing obsolete.
Check doors and cabinet fronts through their normal movement. Identify anything that could contact the mirror or obstruct installation. Keep the access route in mind too, particularly if the piece must pass through a narrow doorway or turn into a small room.
For example, a mirror beside a tall cupboard may look well placed while the cupboard is closed. Open the door through its normal travel before accepting the outline. Show the installer where the door handle finishes and ask how the final arrangement will avoid contact. If the solution involves changing a stop, hinge or mirror position, identify who is responsible for that work. Include the change in the accepted layout rather than leaving it as a conversation to be remembered on installation day.
If the room also includes a glass-topped dressing table, the companion guide to glass table top specifications, Glass table top: choosing thickness and edge for your base, covers the base and edge decisions for that surface. It needs its own assessment alongside the mirror.
Economy Glass’s existing article on commissioning a mirror for your home provides broader style considerations. Keep the final order focused on the accepted outline and fixing arrangement so those choices are recorded clearly.
Confirm the handover and care instructions
Before installation, ask what needs to be cleared from the room and who will confirm the fit. At handover, retain the accepted drawing and the mounting information. Ask about cleaning products, edge care and any restrictions immediately after installation, following the specified system’s instructions.
For routine care, ask how to clean the face without leaving liquid around the edges or adjacent fittings. Do not assume a cleaner suitable for another glass surface is approved for this mirror. If an edge changes appearance or the mirror moves, seek advice before attempting to remove or resecure it.
The Economy Glass project enquiry page is a place to share the outline, room photographs and the details still needing assessment. Include unfinished work so the measuring sequence can be discussed.
Custom mirror FAQs
Should the mirror match the vanity width?
Treat that as a layout choice. Test the outline against viewing needs, lighting, adjacent fittings and the available finished wall before approving the dimensions.
Can I order before tiling is finished?
Explain the planned work and agree on the final measuring stage. Do not assume unfinished opening dimensions are ready for manufacture.
Is the edge finish enough to specify the mirror?
No. Confirm the outline, corner details, mounting method and wall requirements as well. Record how the edge meets any frame, clip or adjacent finish.
Can an old fixing arrangement be reused?
Have it assessed for the proposed mirror and wall condition. Existing holes or fittings do not establish compatibility with the new piece.
For help planning the finished piece, discuss your mirror layout with Economy Glass and include a sketch of the intended position.