




A glass shelf needs to suit what sits on it and what holds it up. A narrow shelf for perfume bottles, a cabinet shelf for bowls and a display shelf for a heavy ceramic piece are different jobs. Choosing a thickness from a photograph leaves out the details that matter: the unsupported distance, the depth, the position of the load and the condition of the fixing surface.
Start with a description of the finished shelf in use. Then work through the glass, edge finish and supporting hardware together. Prepare that brief without treating a general thickness suggestion as a safe load rating.
Plan the glass shelf around its actual job
Write down the objects you expect to store before settling on the dimensions. Be specific. A bathroom shelf holding toothbrushes and a soap dispenser has a different brief from one carrying spare bottles, a vase and cleaning products. Include the items that tend to accumulate after installation, rather than only the display you have arranged for a photograph.
Also explain how people will use the space. A shelf beside a hand basin might be reached for with wet hands. A shelf behind a dining table might be difficult to clean without moving furniture. A display inside a cabinet may be protected from passing traffic but awkward to load through a narrow door. These details belong in the initial discussion.
Describe the heaviest realistic arrangement
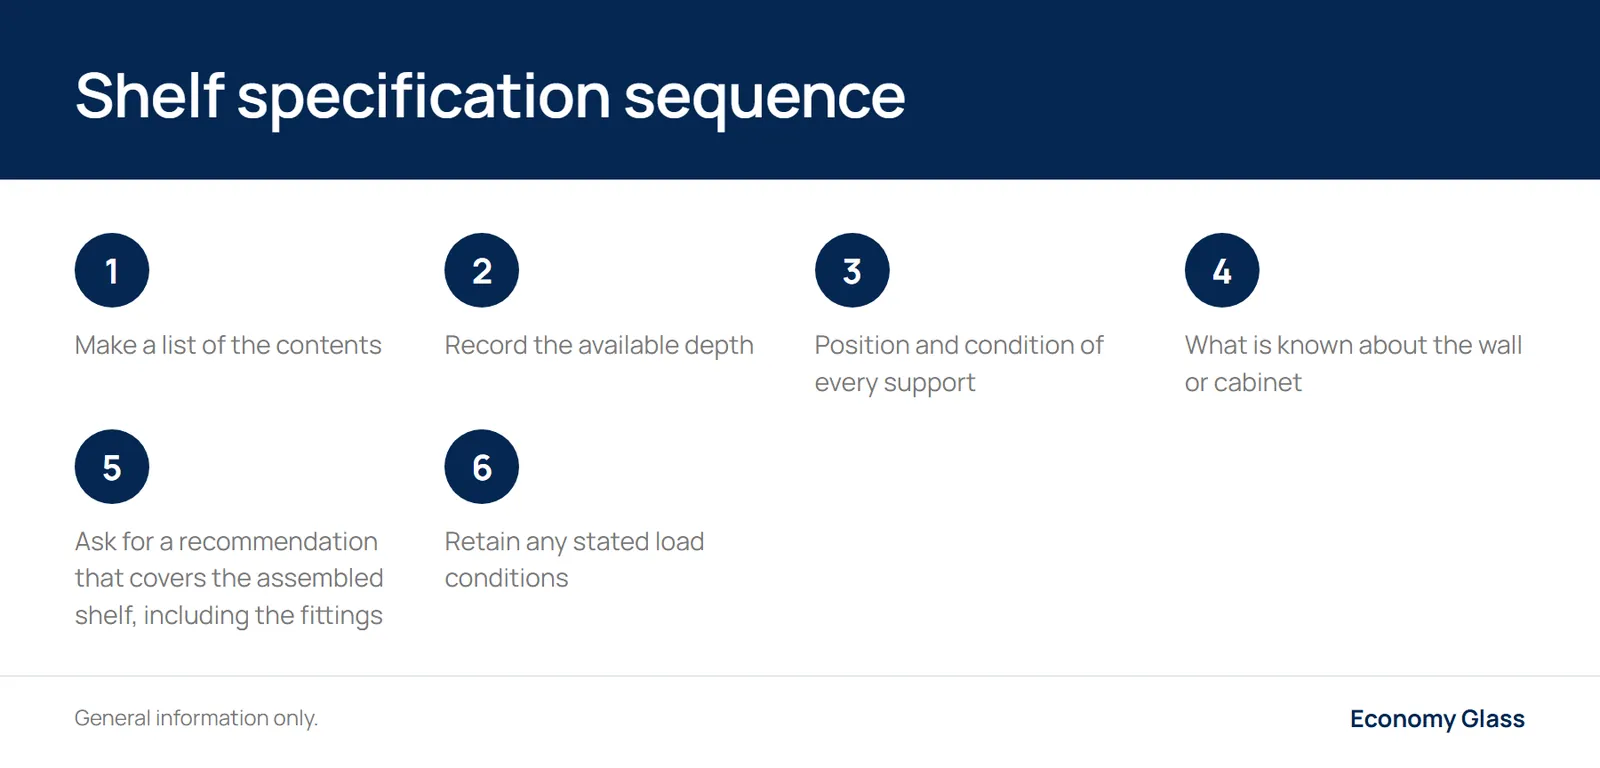
Make a list of the contents and tell the glazier where the heavier pieces will sit. If the weight is unknown, say so. Do not convert a vague description such as “a few ornaments” into an assumed load. An actual item list gives the person specifying the shelf something useful to assess.
Consider how the contents might change. A display of small cups can become storage for stacked plates. A shelf intended for folded hand towels can end up holding toiletries. If those changes are likely, include them now. If they would require a different design, keep that limitation with the finished shelf so the next person using it knows.
For a shelf used by customers, children or several household members, describe the access as well as the contents. Ask the supplier to assess the application rather than assuming that a domestic display detail suits every setting. A shelf that is attractive in a locked display cabinet may be unsuitable beside a busy doorway.
Thickness depends on support, span and load
There is no useful universal answer to “What thickness should my shelf be?” without the dimensions and support arrangement. The unsupported span is the distance the glass bridges between its supports. Overall length alone does not describe that distance. A shelf supported along its sides is a different arrangement from a similar piece held by small fittings near its back edge.
Give the glazier both the glass dimensions and the proposed support locations. Mark the front edge on your sketch. Show any portion that projects beyond the supports, along with the position of a heavy object. Ask for a recommendation that covers the assembled shelf, including the fittings, rather than a recommendation for the glass in isolation.
Why the depth matters
A deep shelf can encourage storage at its front edge. It can also project into the room farther than you expect when looking at a flat drawing. Before ordering, use a cardboard outline to check the depth with doors open and people moving past. This is a layout check, not a test of the finished structure.
Inside a cabinet, depth also affects access to the rear. If you need to remove everything at the front to reach a bottle behind it, the layout may encourage awkward handling. A shallower shelf or a different arrangement of contents might be more practical. Resolve that use problem before making the glass larger.
Ask for the load conditions in writing
Request the intended load limit and any conditions attached to it. Ask whether the guidance assumes an evenly distributed load, particular support positions or specified hardware. If the supplier cannot confirm the arrangement from photographs, arrange a proper assessment. A confident guess is not a substitute for a specification.
Do not test a new shelf by adding increasingly heavy objects to see what happens. That experiment cannot establish a dependable working limit. If the intended use changes, have the arrangement reassessed before loading it differently. Keep the order details and hardware information together for that conversation.
Compare the support arrangements before choosing fittings
The brackets often decide what the shelf looks like, so it is tempting to choose them first. Instead, compare how each proposed system supports and retains the glass. Ask the installer to explain the complete route from the shelf through the bracket and fixing into the cabinet or wall. Each connection needs to suit the job.
| Arrangement | Detail to record | Question to resolve |
|---|---|---|
| Cabinet shelf on pins or rests | Position and condition of every support | Does the proposed glass suit this cabinet and its fittings? |
| Wall shelf on brackets | Bracket projection, spacing and wall construction | How will the brackets be fixed to suitable support? |
| Shelf in a channel system | Channel details and how the glass is retained | Is this glass and channel combination approved for the intended use? |
| Recessed shelf | Finished opening, support surfaces and access | Can the shelf be installed and removed without forcing it? |
These are briefing categories, not interchangeable installation methods. A channel selected for appearance does not automatically suit the glass you have chosen. Equally, a bracket advertised for a particular thickness still needs to suit the shelf dimensions, load and fixing surface.
Replacing a cabinet shelf
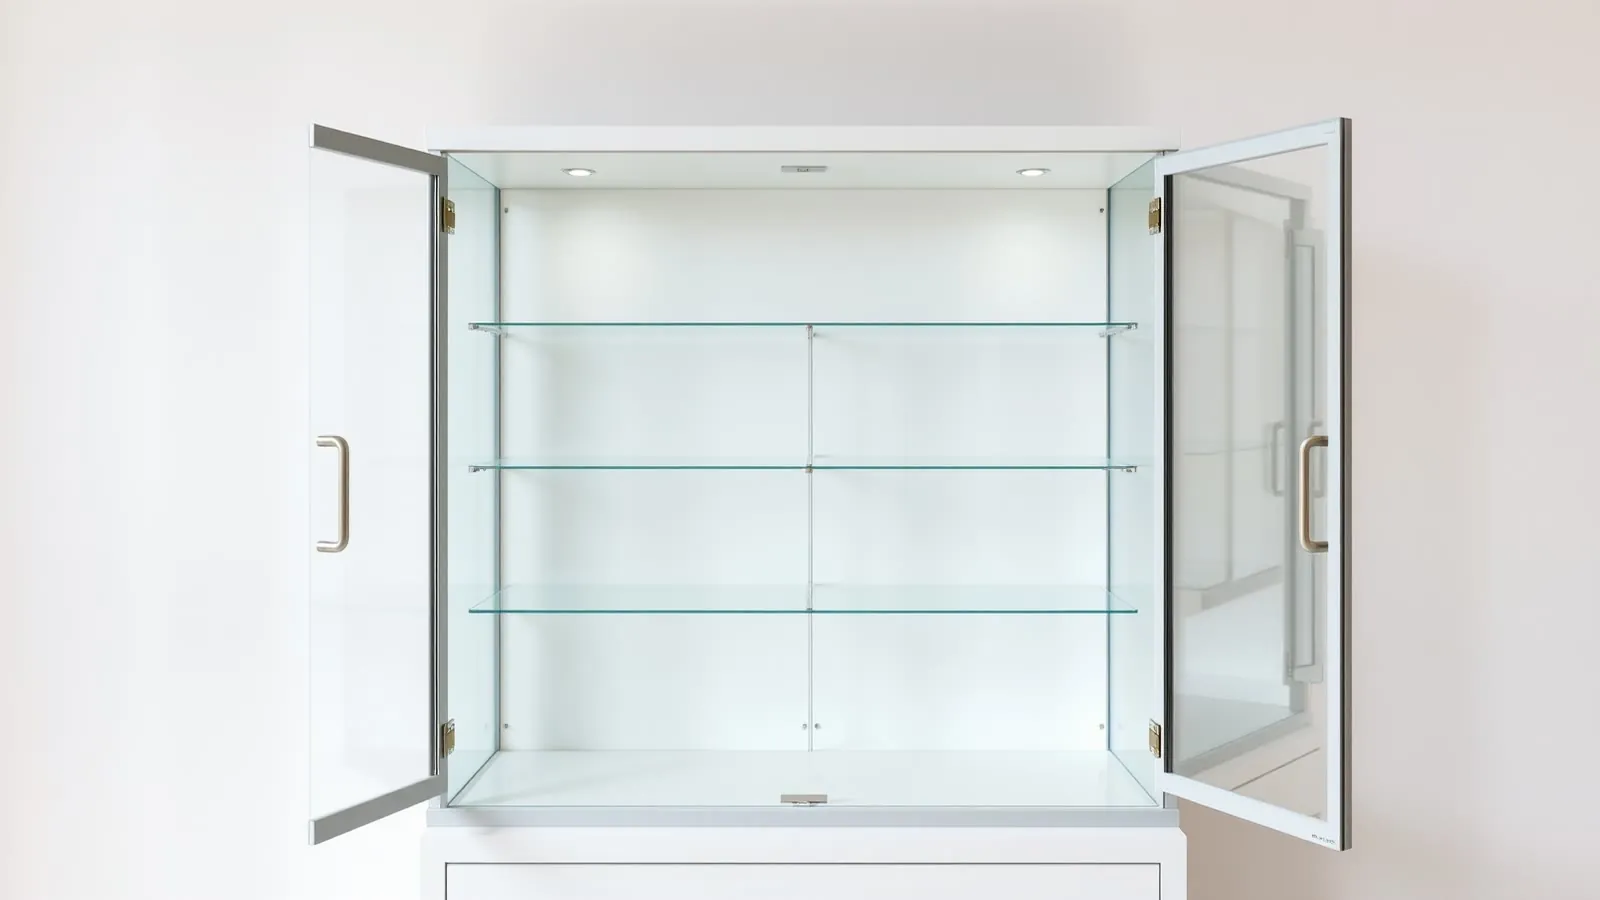
Look beyond the broken or missing pane. Photograph the cabinet, each support and any damaged holes before ordering a replacement. Tell the supplier if the cabinet has moved, a pin is missing or the old shelf rocked. Replacing the glass without addressing the support problem may leave the underlying fault in place.
If there are matching shelves, do not assume they prove the missing shelf’s specification. They may have been replaced at different times. Record what you can see, then ask which details need checking. Retain any manufacturer information for the cabinet or fittings, because it may help establish what the original system was designed to hold.
Check the wall or cabinet before approving the layout
A neat fixing plate can hide a complicated wall. Tell the installer what you know about the construction, including any recent renovation or uncertainty about what sits behind the surface. A photograph of the paint or tiles cannot establish the supporting structure. Let the installer determine what inspection is needed.
For a tiled wall, show the proposed shelf position in relation to taps, outlets and other fittings. Do not choose drilling points solely because they line up attractively with grout joints. Ask the installer to resolve fixing suitability and concealed services before making holes. Existing holes are useful information, but they are not proof that the previous installation was sound.
With cabinetry, check whether the supporting panels and shelf fittings are staying or being replaced. A new cabinet lining or relocated fitting can change the finished opening. Explain which work is complete and which is still planned. The person measuring needs to know whether the dimensions represent the final installation.
Separate appearance preferences from fixing requirements
It is reasonable to want small fittings or concealed support. Put that preference in the brief, then ask whether the proposed system can achieve it. If a different bracket or additional support is recommended, ask what requirement it addresses. That discussion is more useful than choosing the least visible hardware and trying to make everything else fit it.
For local enquiries, the Economy Glass website provides a starting point for discussing the project. Describe the shelf application and ask what assessment is needed before treating any particular fixing system as available or suitable. Include photographs showing the proposed position and surrounding furniture.
Choose the glass type separately from its thickness
Glass type and glass thickness describe different things. Do not use one as shorthand for the other in an order. Ask the glazier to identify both, together with the intended application and any relevant safety requirements. The description should be clear enough that you can distinguish the specified material from an ordinary piece of glass of similar appearance.
Economy Glass’s explanation of safety glass describes toughened and laminated glass as different safety glass options. That background is useful, but it does not specify your shelf. Ask which material suits the complete arrangement and why, including what happens to the supported objects if the glass breaks.
Avoid turning a general safety glass article into a compliance checklist for furniture. The intended location and use need their own assessment. If you are specifying a shelf near a stair, above a work area or in a public setting, raise that detail at the start. Do not wait until the glass is ready to install.
Also flag holes, notches and shaped edges before the material is ordered. Ask when the design becomes final and what alterations would require a new piece. This prevents an installer arriving with glass that no longer matches relocated fittings or a changed cabinet opening.
Edges and corners need a deliberate decision
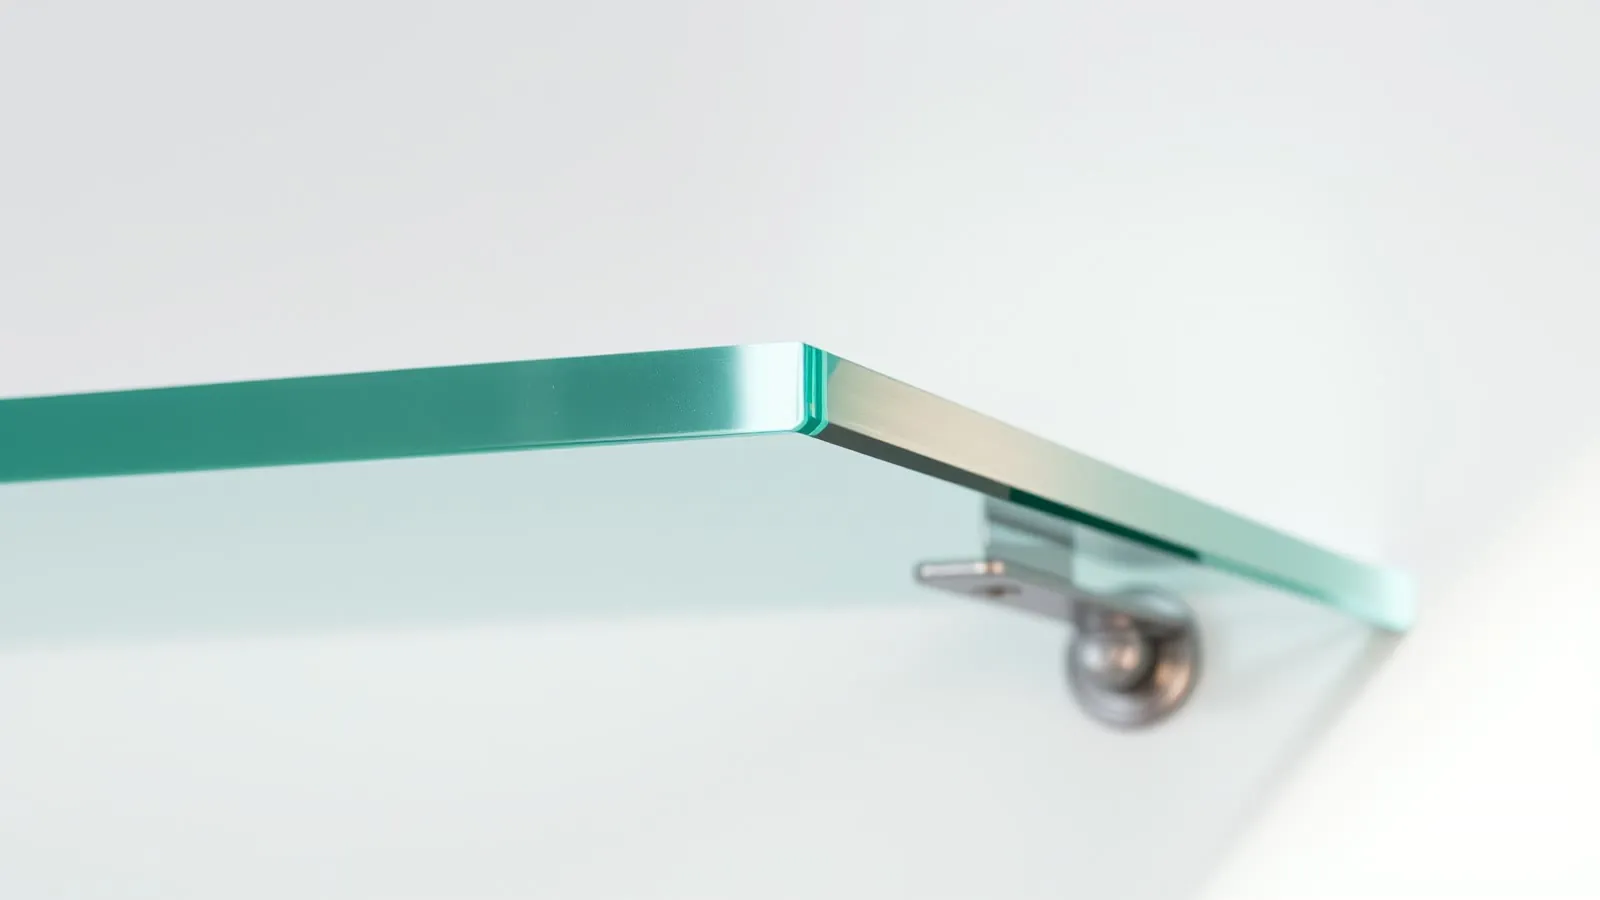
An edge is part of the shelf you see, touch and clean. Describe which edges are exposed and which disappear inside a cabinet or support system. Ask to see a sample or a clear edge profile rather than relying on a name alone. The finished appearance is easier to judge when you can see it against a background similar to the room.
Ask the supplier to identify the proposed finish on the drawing and explain which edges it applies to. If the sample is from a mirror or table top, have the shelf detail confirmed for its own application rather than copying the sample’s specification.
Think about contact with the front corners
A shelf above a dressing table may sit close to someone leaning forward. A hallway shelf may project into a walking route. Show these relationships on a room photograph. Ask about the corner shape as well as the edge finish, since approving a polished edge does not tell the supplier whether you want square or rounded corners.
If a curved corner is proposed, confirm the shape on a drawing or template. “Slightly rounded” can mean different things to different people. Avoid making your own numerical corner specification unless you know what is required. A marked sample or approved template can communicate the visual choice without inventing a dimension.
Consider how the finish meets the hardware
Ask whether the edge treatment is compatible with the proposed clamps, channels or rests. A detail that looks attractive on an exposed front edge may not suit the part held by a fitting. The order should distinguish these areas rather than applying an appearance choice to every edge by default.
The same habit helps with other glass furniture. For a surface that people eat or work at, read the companion guide to choosing a glass table top: Glass table top: choosing thickness and edge for your base. It focuses on the distinction between a protective overlay and a top spanning an open base.
Measure the finished space, then approve the order details
Your first measurements help explain the project. They should not silently become manufacturing dimensions. Tell the supplier who will take the final measurements and who is responsible for confirming the fit. If professional measuring is needed, keep the opening accessible and explain any unfinished work before that visit.
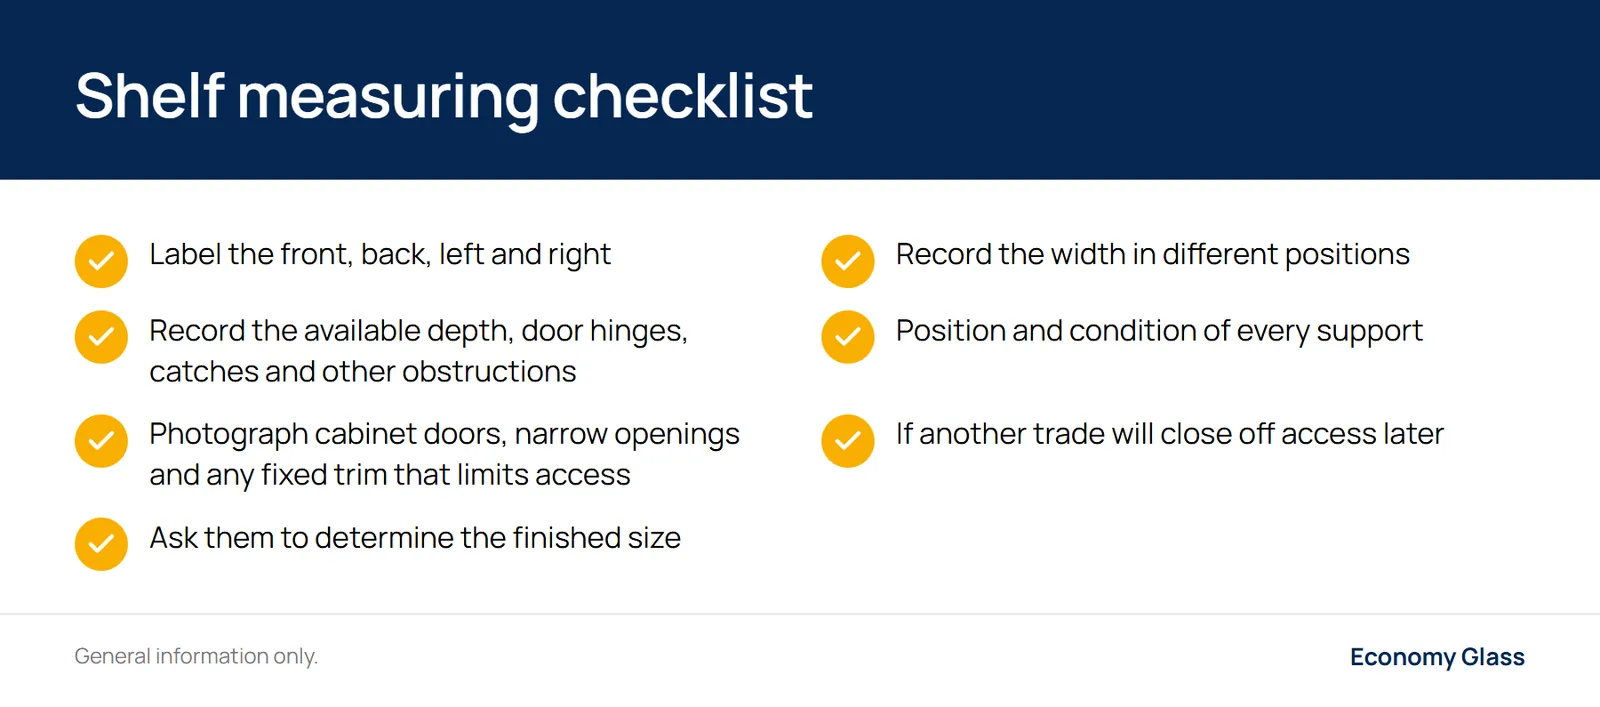
For an opening between cabinet sides, record the width in different positions and note any visible taper. Record the available depth, door hinges, catches and other obstructions. Do not choose the smallest measurement and invent a clearance yourself. Show the information to the person specifying the glass and ask them to determine the finished size.
Keep orientation obvious
Draw the shelf as viewed from above and label the front, back, left and right. Add the room name or cabinet description if several pieces are being ordered. If there is a shaped corner, mark which corner it is. A sketch that makes perfect sense while standing in the room may become ambiguous when separated from the photographs.
For an irregular shape, ask whether a template is needed and what material or format the supplier accepts. Do not assume that a photograph taken at an angle can define the shape accurately. Confirm whether the template represents the finished glass outline or the opening it must fit, because those are different instructions.
Check installation access
A shelf can fit its final position yet be difficult to manoeuvre into it. Photograph cabinet doors, narrow openings and any fixed trim that limits access. Tell the installer if the cabinet is already attached to the wall or if another trade will close off access later. Decide the installation sequence before the piece is made.
This is especially useful in a bathroom renovation. A vanity, mirror and shelf may be measured separately but share the same crowded wall. The companion guide to custom mirror sizing and fixing, Custom mirror: sizing, edges and fixing before you order, helps coordinate the mirror outline and the shelf position without treating them as a single fixing system.
Put the layout through an everyday-use check
Before approving the design, mark its proposed position with a removable outline that will not damage the surface. Use that outline to check reach, nearby doors and the view from normal standing and seated positions. Keep the mock-up clearly temporary. It is there to test the layout, not to carry objects.
In a bathroom, stand where you normally wash your hands and reach for the items you use. Check that the proposed shelf does not crowd a tap handle or become an obstacle when you lean towards the mirror. If the layout feels awkward while empty, rearrange it before ordering glass.
In a kitchen display cabinet, check how a large bowl will pass through the door and onto the shelf. The opening may be more restrictive than the storage space behind it. Plan where you will put the bowl while cleaning, too. A useful display needs a practical way to empty and reload it.
For a living room display, consider the view of the underside and fittings. A shelf that looks tidy at eye level may show its supports clearly from a sofa. Ask for a drawing of the visible hardware if that matters to the finished appearance. Resolve it alongside the support requirements, rather than hiding essential fittings after installation.

Prepare a brief that produces a useful answer
Send a room photograph, a close-up of the fixing area and a labelled sketch together. Include what the shelf will hold, where heavier pieces will sit and what is known about the wall or cabinet. Explain whether this is a replacement in an existing system or a new layout still open to changes.
Then ask the supplier to confirm these decisions:
- The proposed glass type and thickness for the stated application.
- The dimensions, support positions and intended load conditions.
- The edge finish and corner treatment, including any hidden edges.
- The hardware and its compatibility with the glass and fixing surface.
- Responsibility for final measuring, installation and acceptance checks.
- The cleaning instructions and any restrictions on later alterations.
Keep the accepted drawing with the written description. If you change the shelf depth, contents or fittings after receiving a recommendation, send the revised brief back for confirmation. Do not assume that an earlier recommendation still applies to a materially different arrangement.
Work through a realistic cabinet example
Suppose you are replacing a missing shelf in a dining room cabinet. You want bowls on the left and a tall jug on the right. Start by photographing the empty cabinet and its supports. Sketch the proposed arrangement of objects, including the stack of bowls rather than a single bowl. Tell the supplier if you are unsure about their combined weight.
Next, check the door opening with those objects in mind. If the jug cannot be lifted out without tipping it around a hinge, a change to the shelf spacing may be needed. Mark that proposed change on the drawing. Moving the supports is part of the revised brief, even though the glass outline may stay the same.
Finally, ask who will verify the cabinet fittings and final dimensions. The useful outcome is an agreed glass and support arrangement for those contents. An order consisting only of a width, depth and copied thickness leaves the most relevant details unanswered.
Agree on what happens at handover
Ask the installer to show you the finished shelf’s intended position and explain any retaining components. Keep the room clear so the glass and fittings can be checked without ornaments hiding them. If something differs from the accepted drawing, resolve it before loading the shelf.
For a cabinet with several similar shelves, label the retained paperwork so each piece can be identified later. Record any differences in support or intended contents. That prevents a future replacement enquiry from combining the dimensions of one shelf with the use conditions of another.
When comparing proposals, compare the same application. A different bracket arrangement or glass type may explain a different recommendation. Ask what each proposal includes and which assumptions remain unresolved. The aim is a complete, understandable specification that someone can install and use as intended.
Clean around the supports as well as the surface
Begin by removing the contents and setting them on a stable surface nearby. Use the cleaning method approved for the glass, fittings and adjacent finishes. Economy Glass’s glass product cleaning advice recommends removing loose dirt before wiping and drying remaining water at the edges. Those habits provide a useful starting point for routine care.
Avoid leaning on the shelf to reach its back edge. If you cannot clean it comfortably, ask the installer about safe access or removal. Do not undo fittings simply because they look removable. A concealed component may be retaining the glass, and the correct removal sequence should come from the system’s instructions.
Keep a clean cloth for the shelf rather than using one carrying grit from another job. Move objects off the surface before wiping beneath them. For marks that do not lift with the approved routine method, ask for product-specific advice before trying an abrasive pad, blade or stronger chemical.
Make reloading a check, not a strength test
As you replace the contents, check that nothing has changed from the intended arrangement. Look for a loose fitting, a missing support pad, an unfamiliar mark at the edge or a shelf that no longer sits as it did. Stop using it if damage or movement is suspected and seek advice rather than tightening unfamiliar hardware.
Keep the original specification somewhere easy to find. It is useful if you replace fittings, move house or hand the cabinet to someone else. A note describing the agreed contents and load conditions is more useful than a remembered thickness alone.

Respond to damage or a change in use
If a shelf develops a chip or crack, keep people away and seek advice about safe unloading and removal. Do not try to smooth the defect, cover it with a decorative fitting or prove the shelf is still usable by adding weight. Describe where the damage is and what happened, without handling a damaged edge to inspect it closely.
If a shelf breaks, the replacement discussion should include the surrounding system. Photograph the empty installation from a safe position once the area has been made safe. Explain any recent changes in contents, impacts or movement. The purpose is to identify what needs reassessment, rather than ordering another pane from the old dimensions alone.
A change in the room can also justify a review. Moving a cabinet, replacing its side panels or relocating brackets changes the information used to select the shelf. Keep the existing glass out of service until the new arrangement has been assessed. Reuse should be a deliberate decision based on the complete installation.
If the wider renovation includes window comfort, the separate guide to energy efficient windows, Energy efficient windows: what makes a window efficient, covers that topic. Shelf choices should stay focused on storage, access and support rather than being treated as part of a window specification.
Glass shelf FAQs
Can I choose thickness from the shelf length alone?
No. Provide the depth, support locations, intended contents and fixing details as well. Ask for a recommendation for the whole arrangement and retain any stated load conditions.
Can I reuse the old brackets?
Have their condition and compatibility checked first. Tell the supplier if the old shelf broke, moved or rocked. Matching the old thickness does not establish that the fittings remain suitable.
Should every visible edge have the same finish?
Confirm the appearance and hardware requirements together. Identify exposed edges on the drawing and ask which treatment suits each part of the shelf, including the portions held by fittings.
Can I change the contents after installation?
Stay within the confirmed use and load conditions. If you want to add heavier objects or change their positions, have the proposal assessed before loading the shelf differently.
What should I send with an initial enquiry?
Send a labelled sketch, photographs of the opening and supports, and a realistic contents list. Identify unfinished work and ask who will confirm the final manufacturing dimensions.
If you have a shelf project to discuss, send Economy Glass your project details and ask what information is needed to assess it.